Pages

Pages

Showing posts with label Pinterest. Show all posts

Friday, February 13, 2015

Love notes

Have any of you seen the cool little crafts you can do with mini-mailboxes on Pinterest? Here are a few examples of Valentine's Day themed mailboxes that fellow crafters have created and pinned:
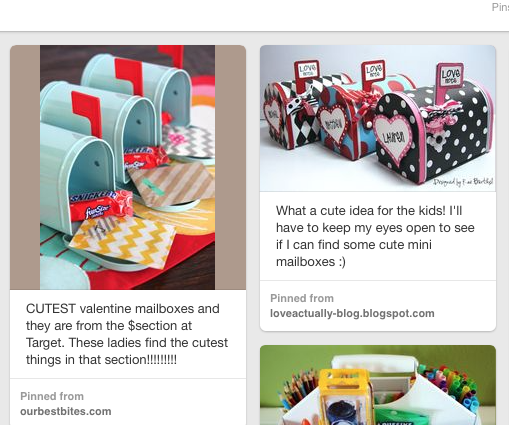
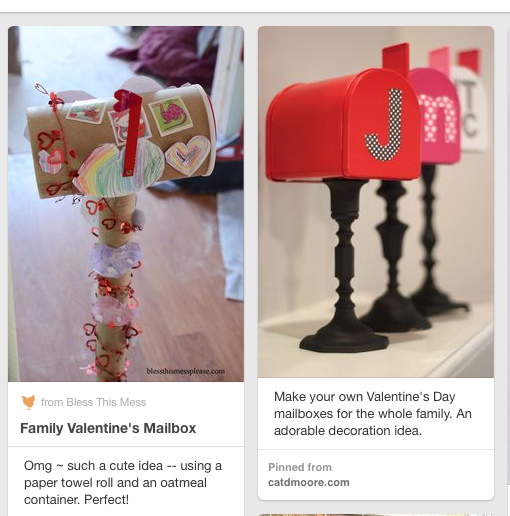

I think the idea of having a little mailbox to put a gift/love letter/candy in is nice for Valentine's day. But I think that having a mini-mailbox year round is an even better idea! It's a little place for spouses or partners or kids or parents/kids can leave little notes or snacks for one another. I mean who doesn't like a sweet little surprise every once in a while?

My friend Erin hosted this month's Crafty Club, and this is the craft that she had for us to do :) She provided the cardboard mailboxes (the small ones are $2.99 at Hobby Lobby) and an assortment of embellishments, papers, craft paints, stickers and stamps to decorate them:
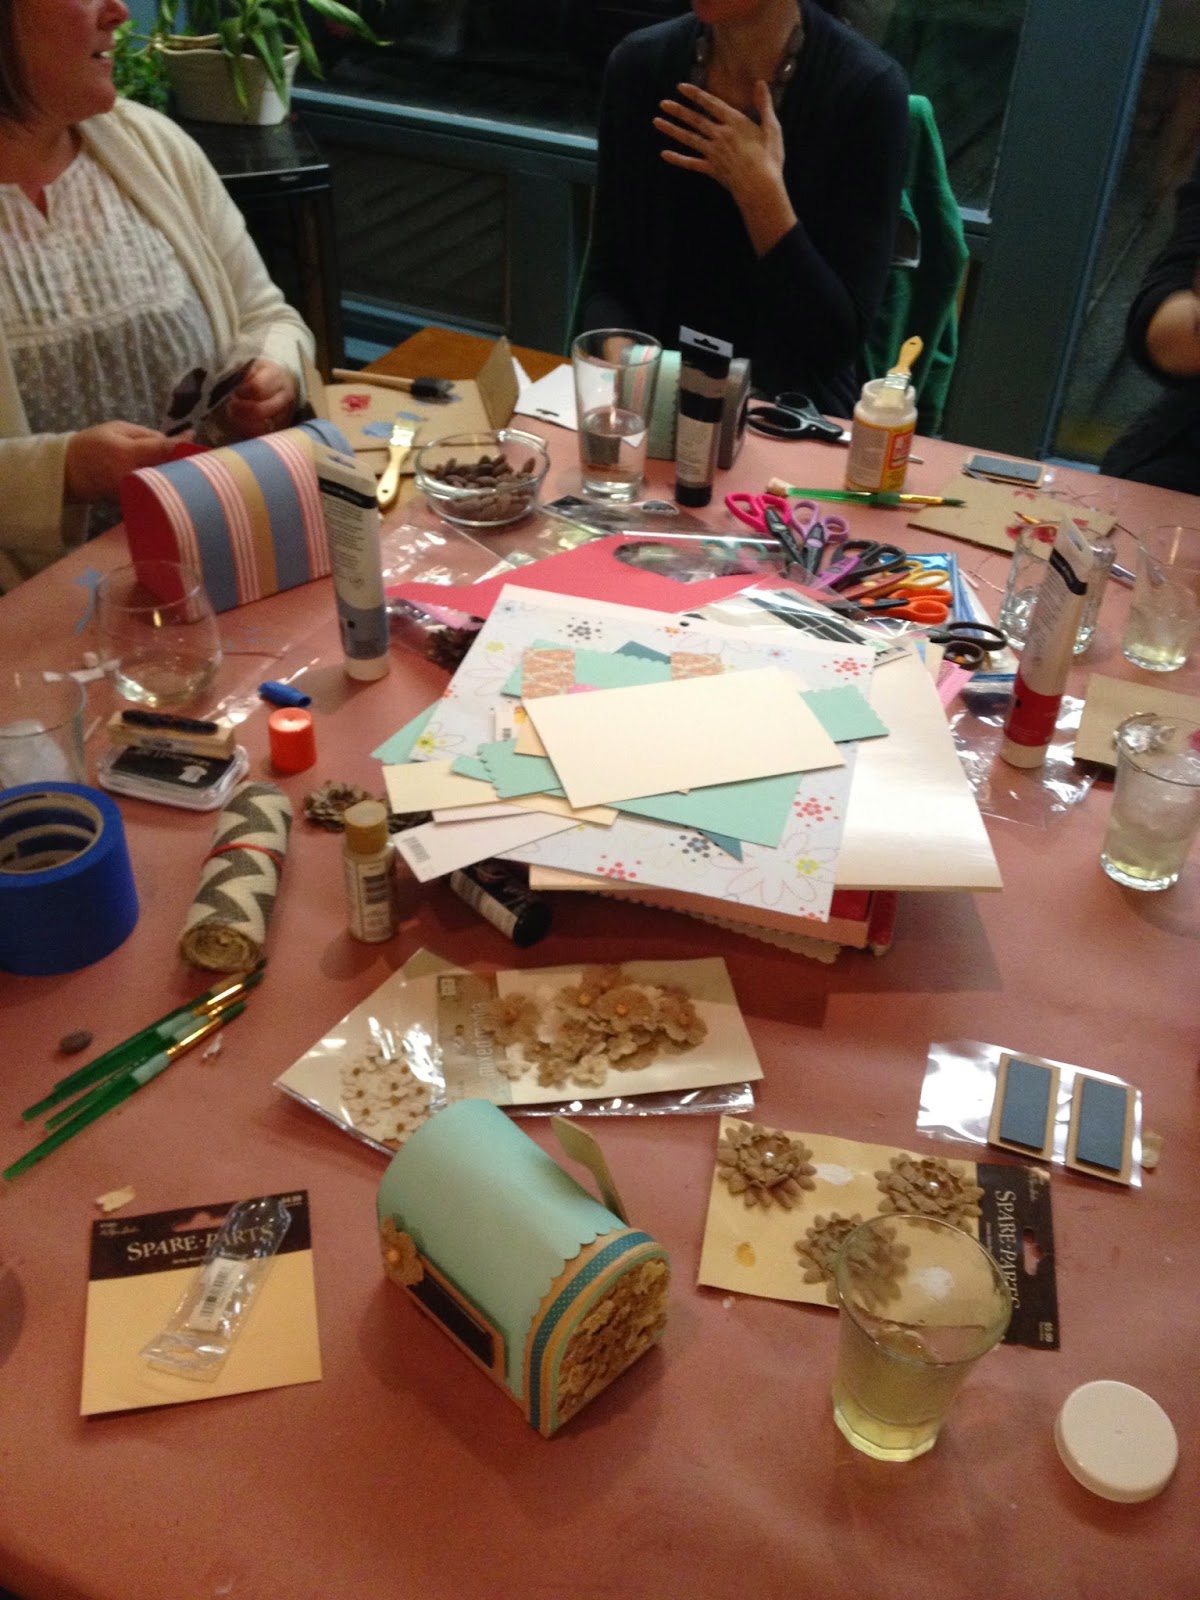

Three rounds of margaritas later....
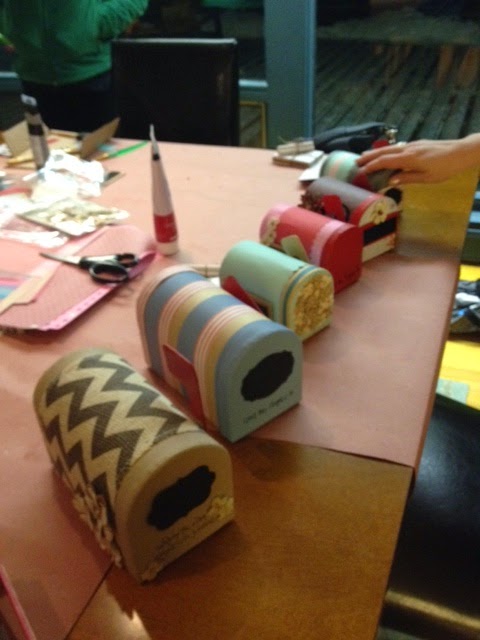

Here's mine. I attached scrapbook paper with Modge Podge, tiny burlap flowers and a stick-on chalkboard sign (to distinguish which family member has mail):
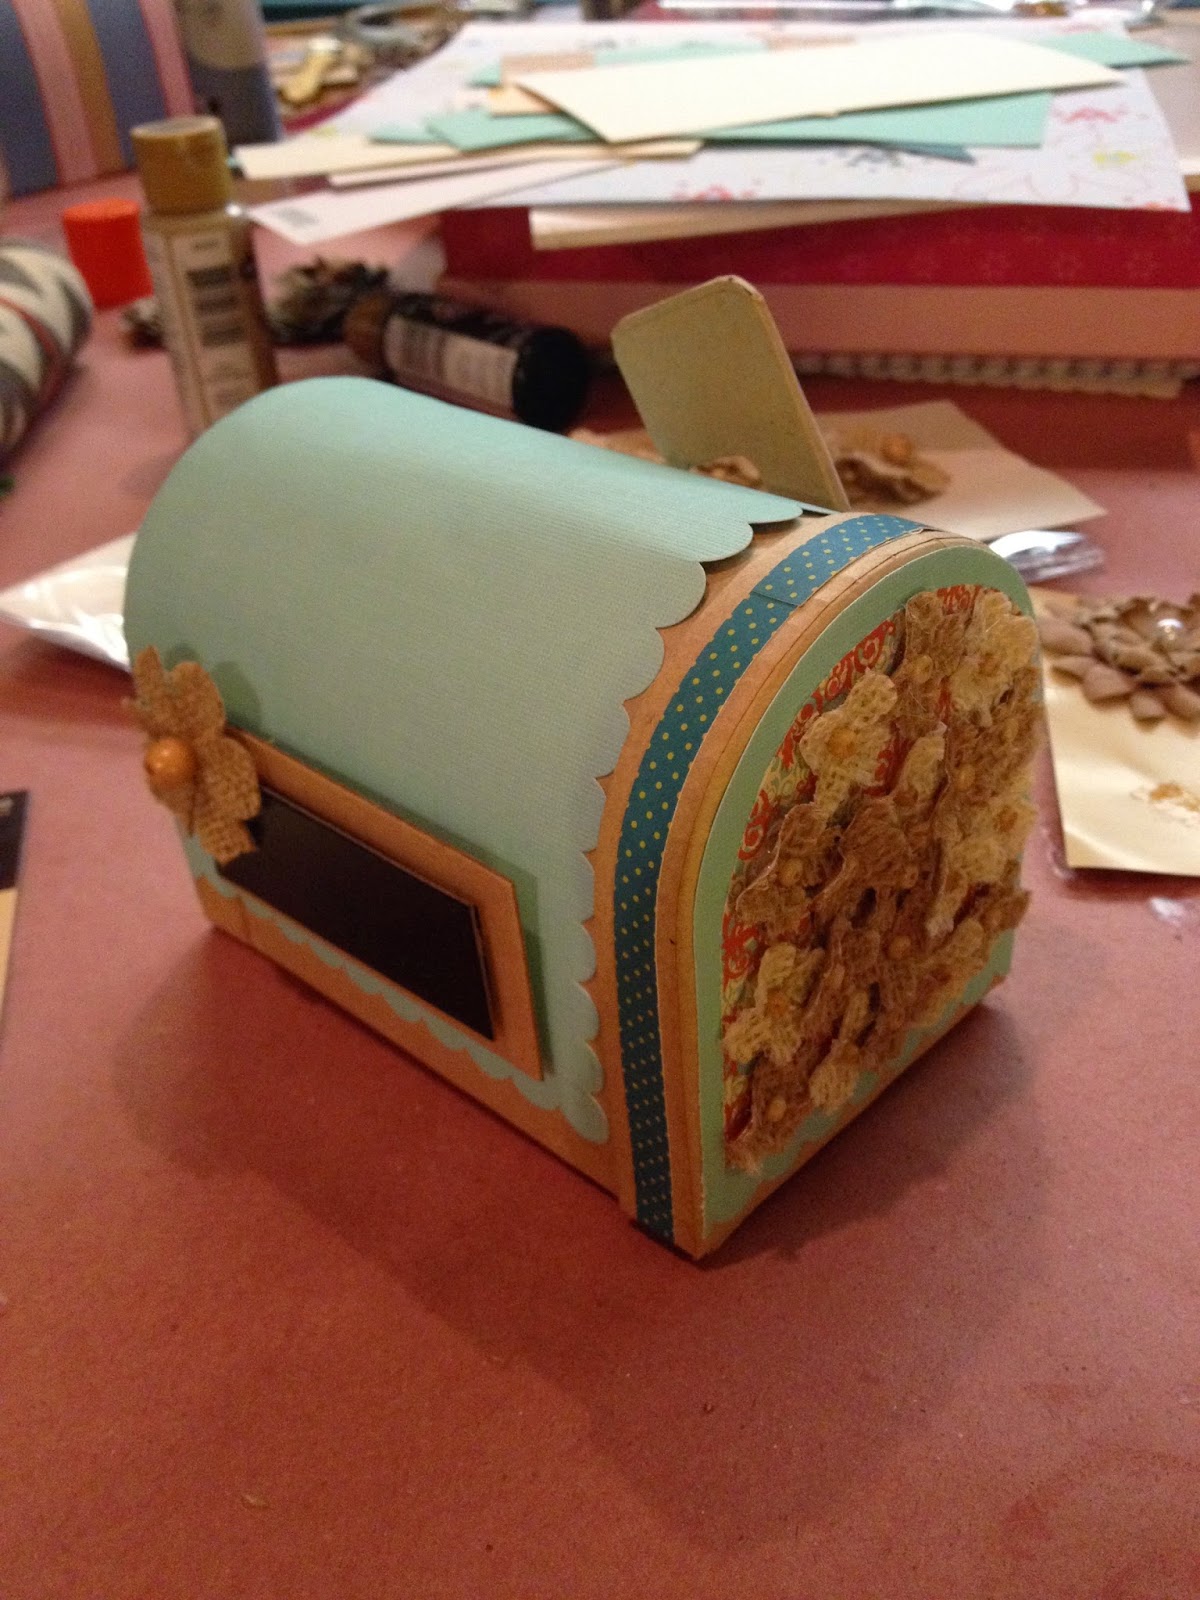

 Erin gave each of us a little bundle of notes with envelopes (so cute!) to start us out:
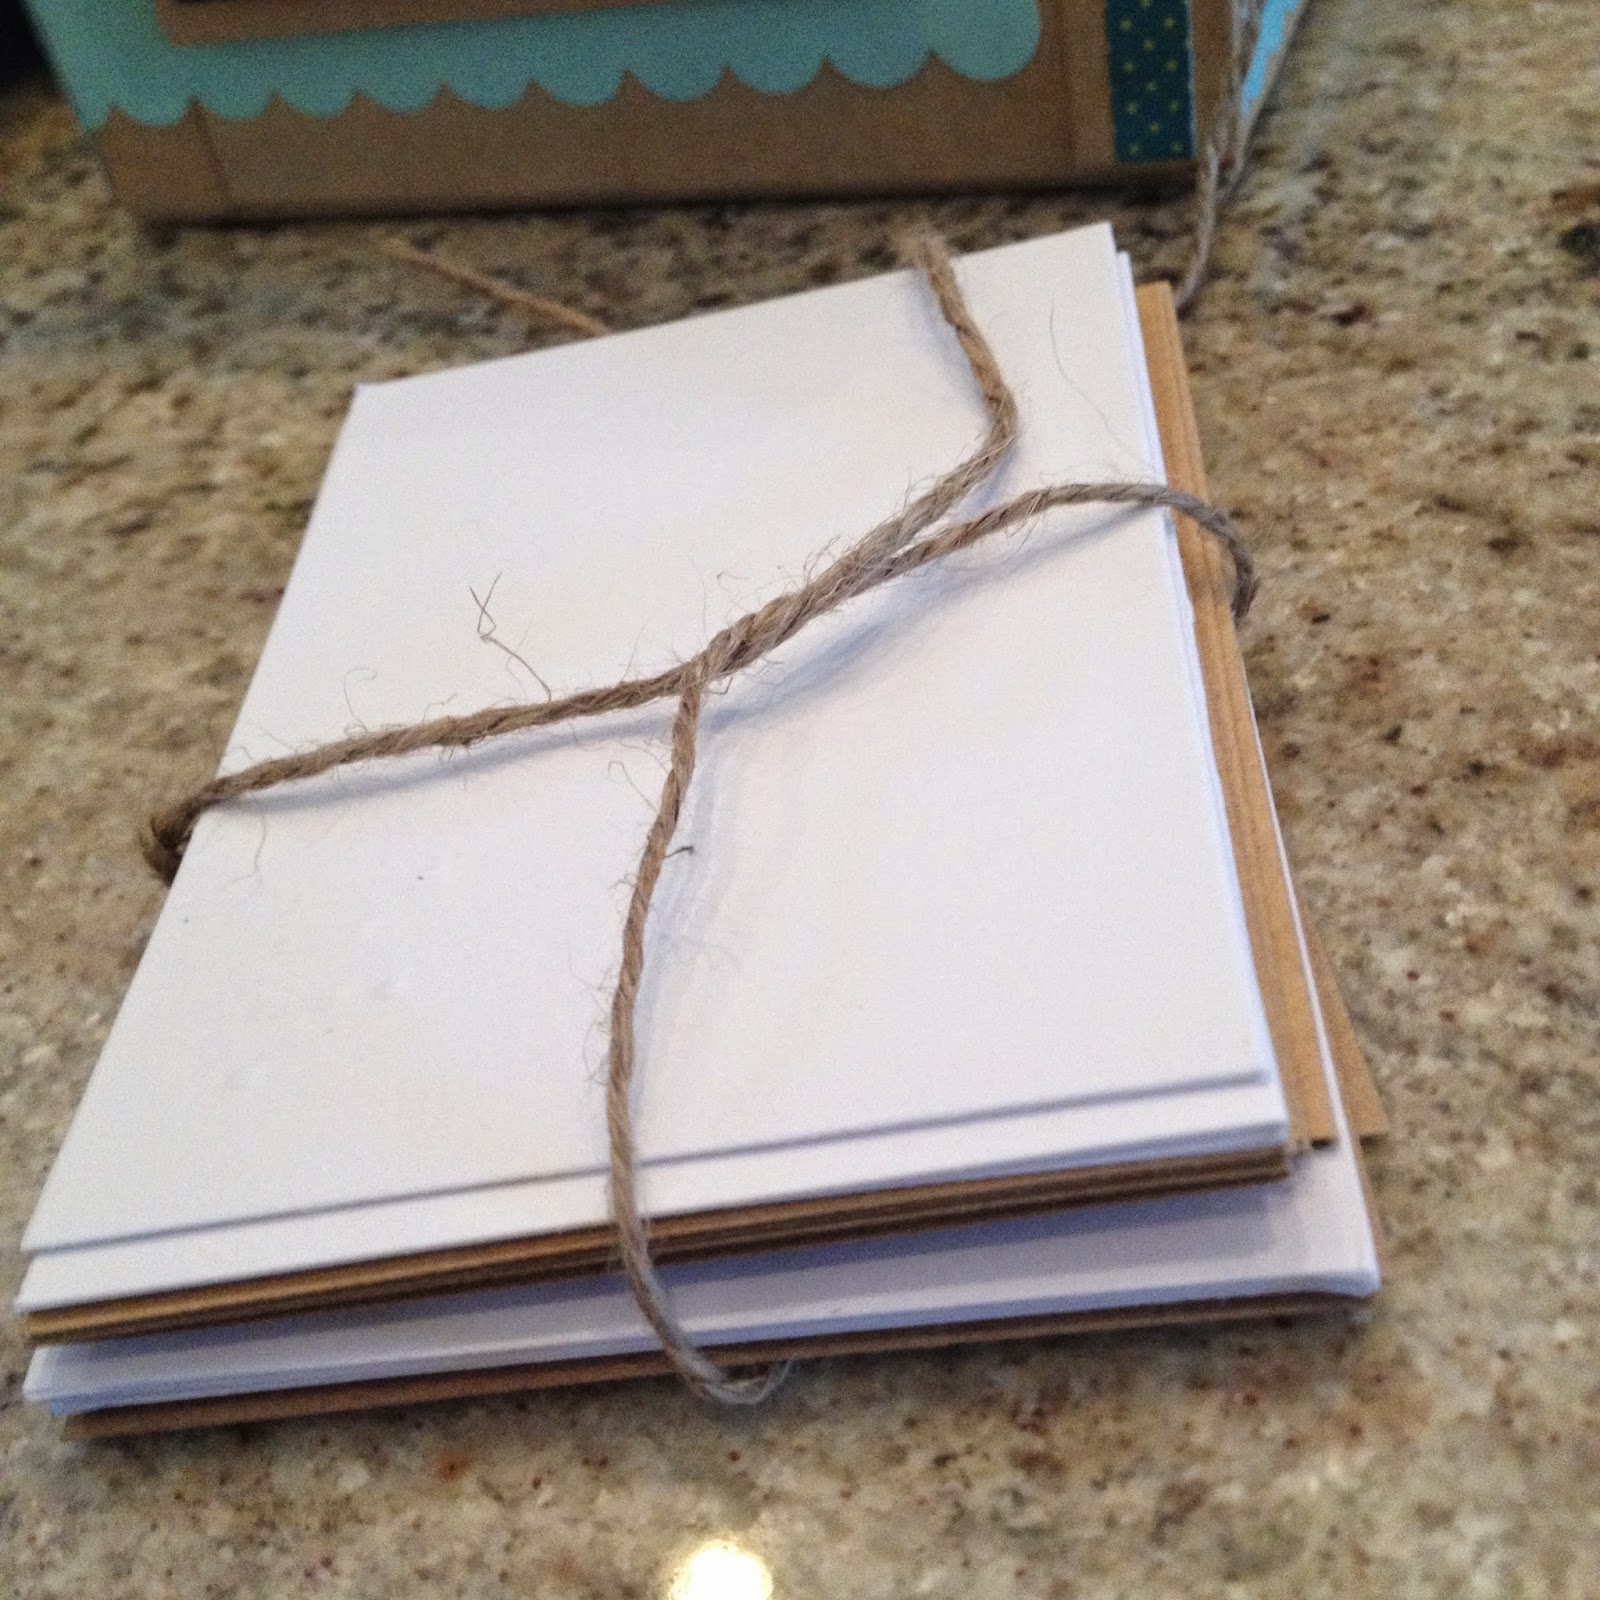
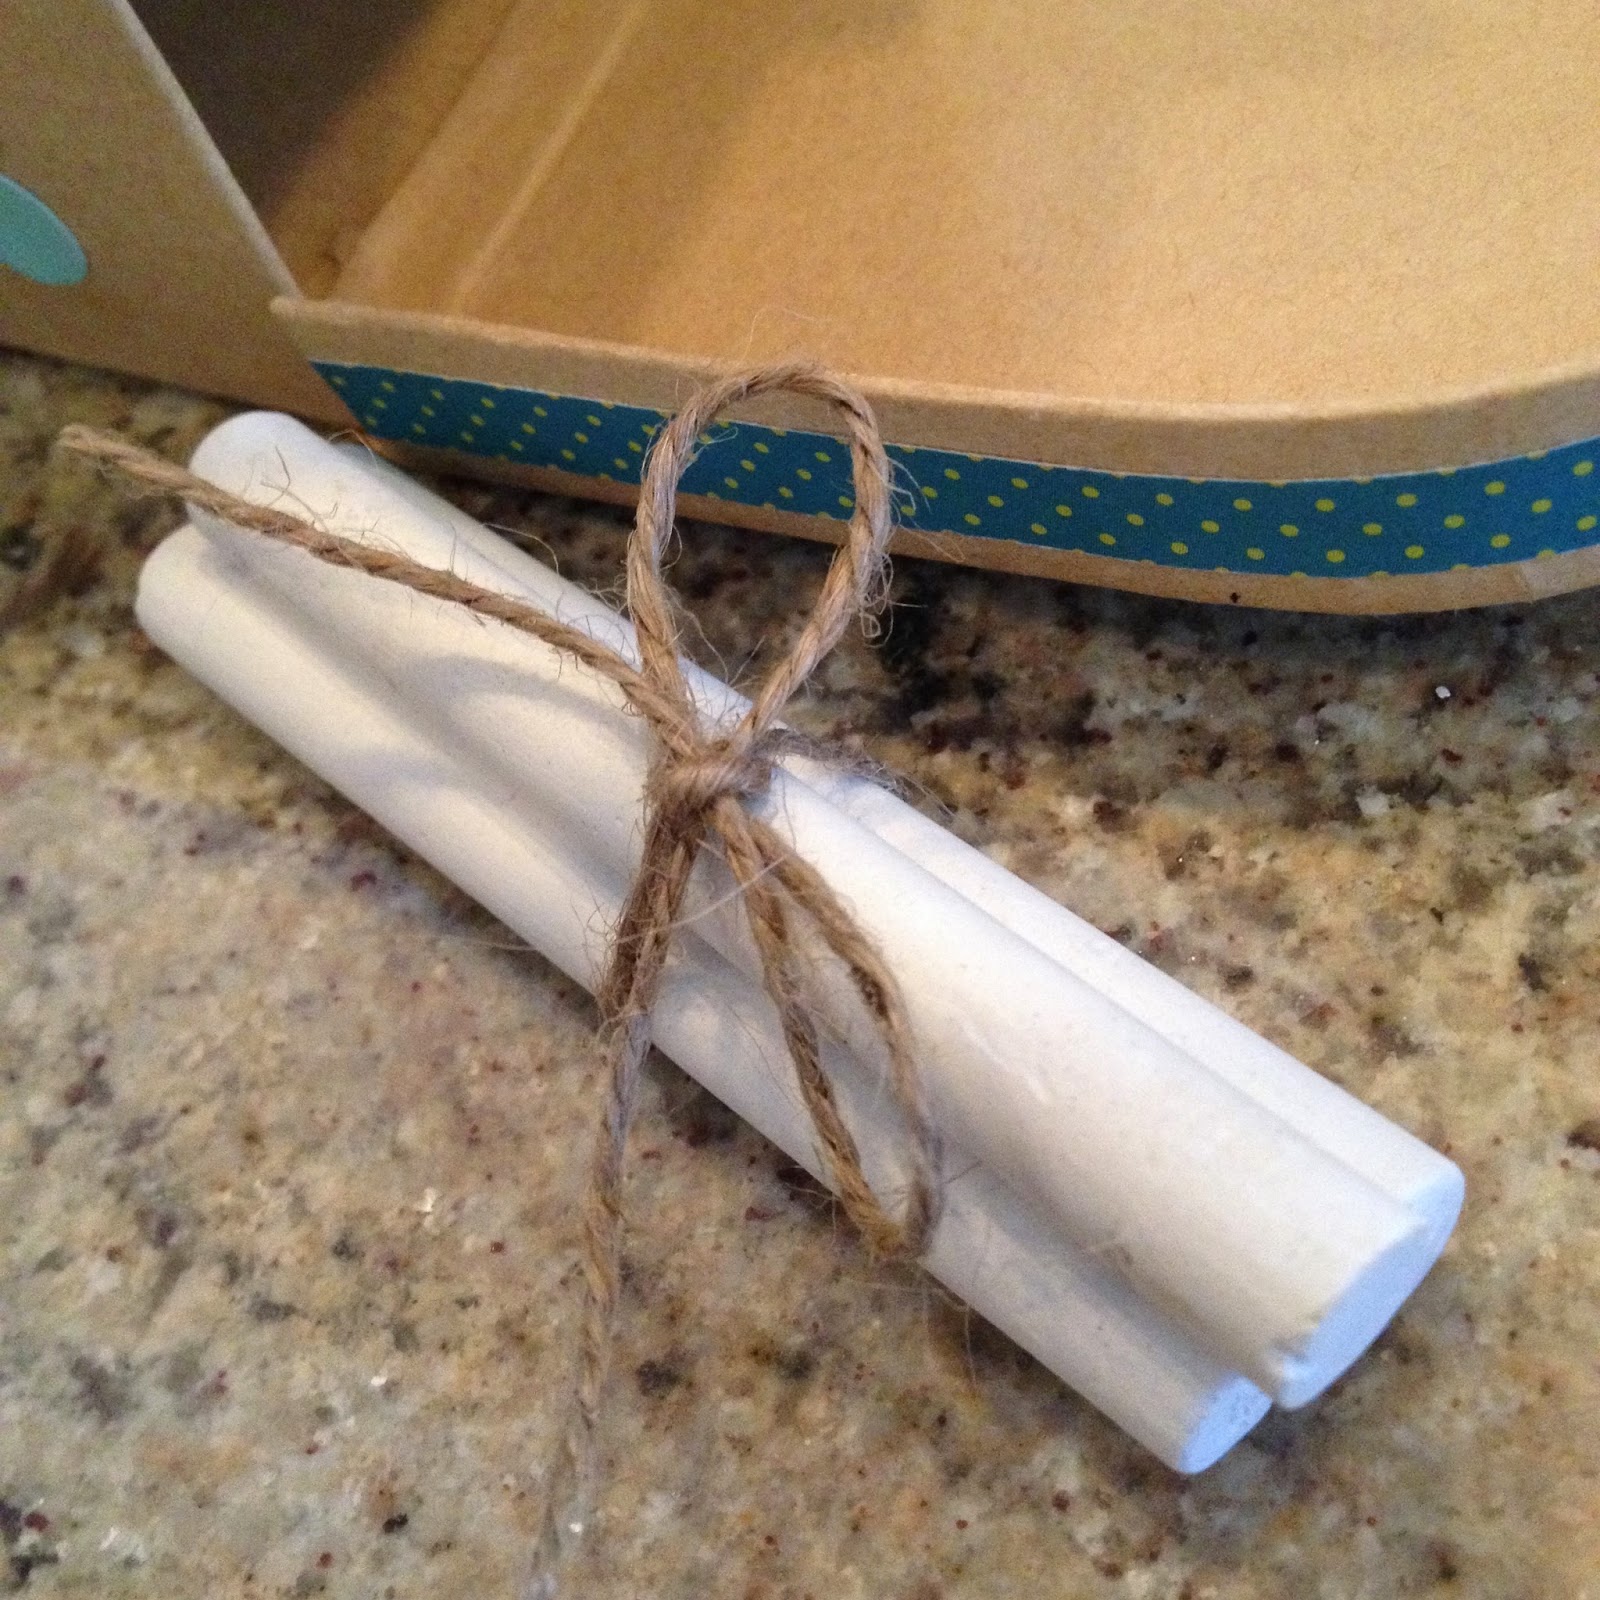
And a bundle of chalks sticks as well:
Matt and I tested out the mailbox the very next morning.
Well what do we have here...?
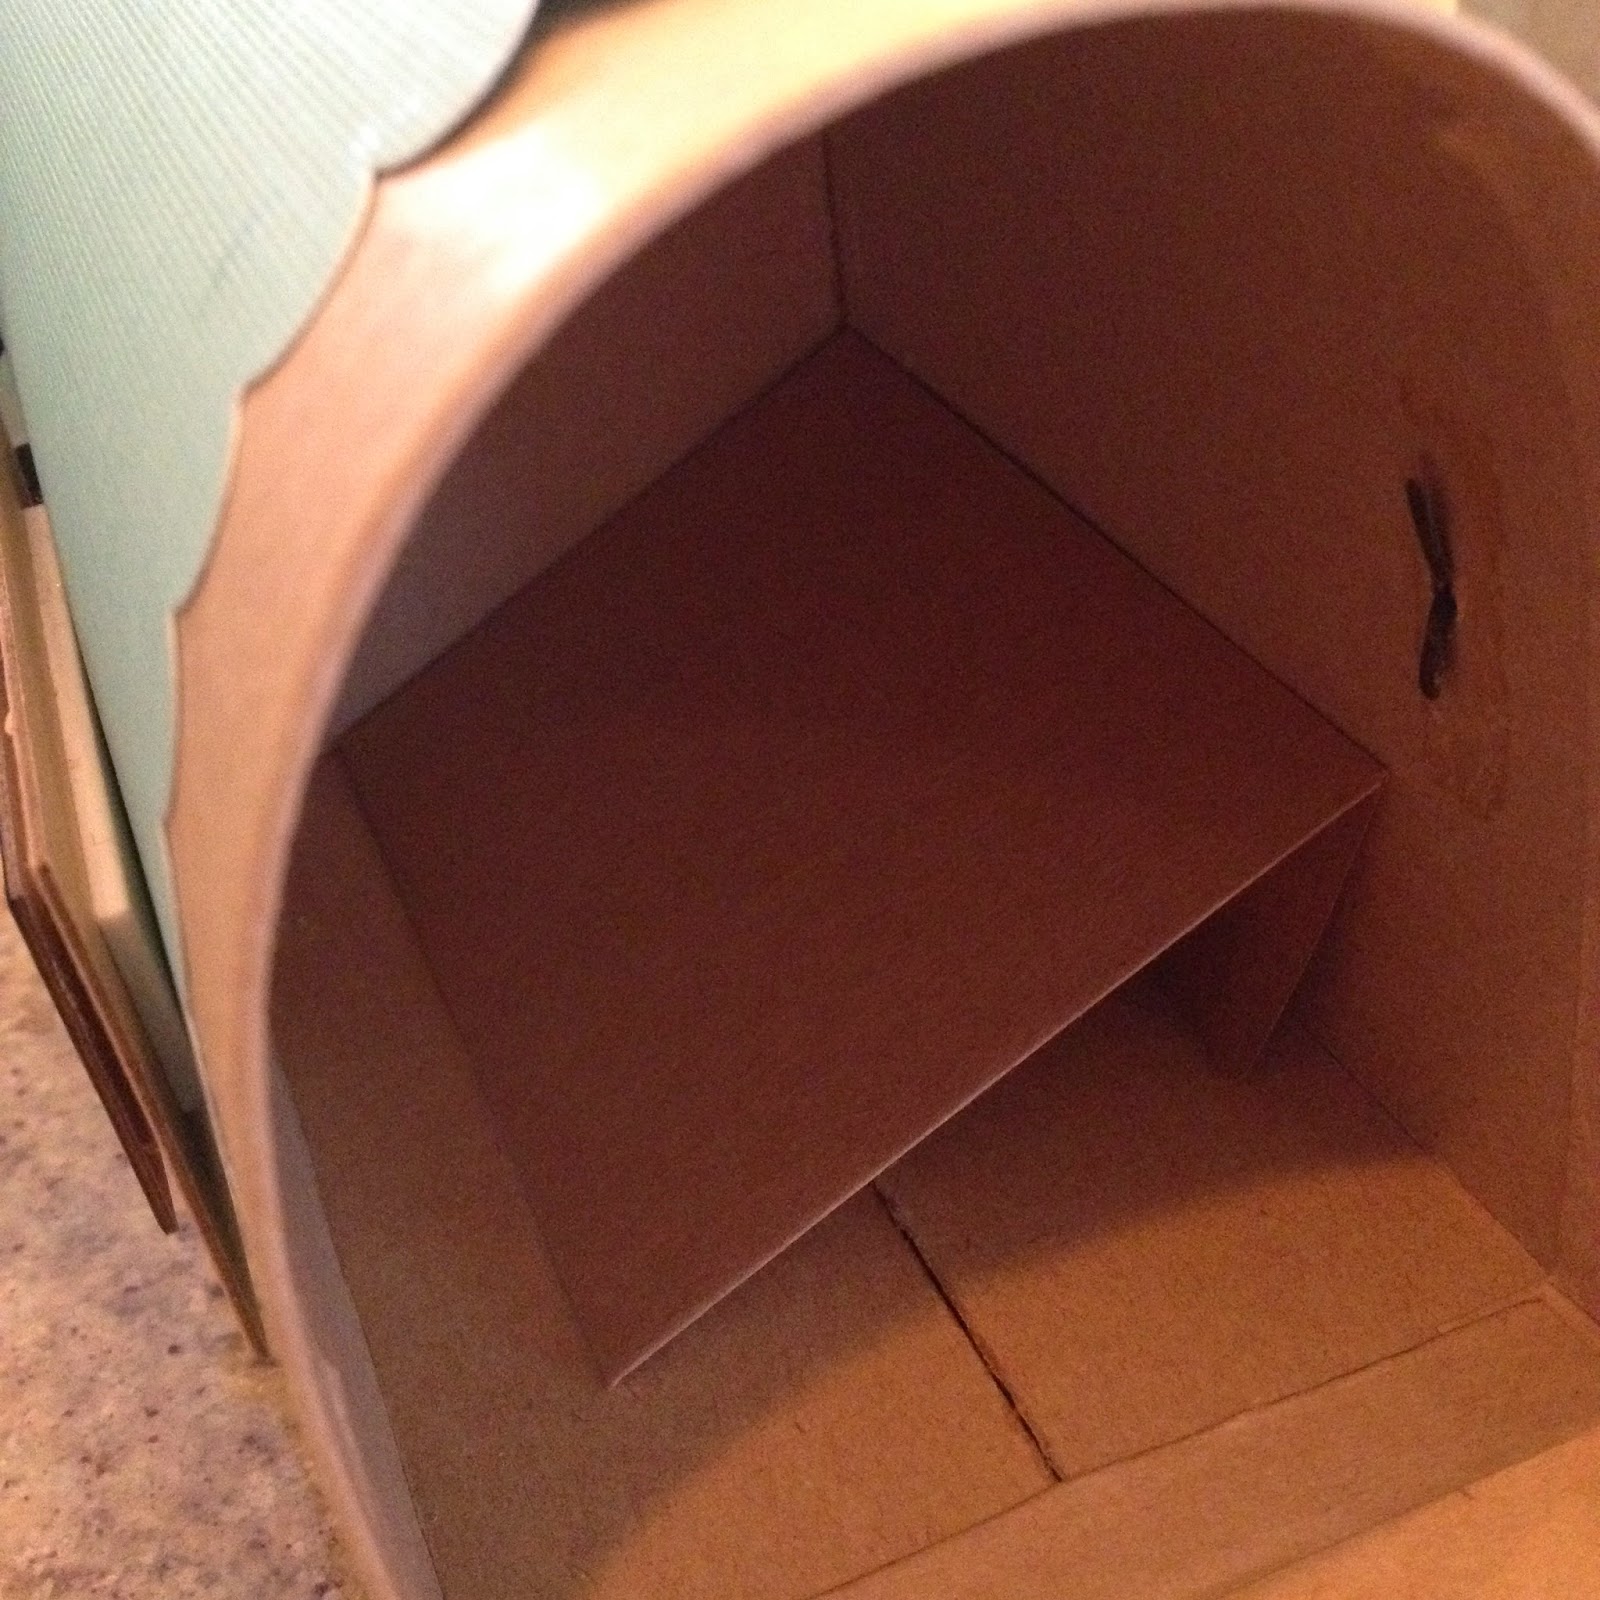
I wrote him the first note (I forgot to take a photo). Basically it said something to the effect of "sorry for being so tequila-drunk and obnoxious when I got home last night" and that I love him.

Then he wrote me a note back saying "it's okay that you got sh*t$ace% the night before." What a sweet, sweet man I'm married to...

Are we romantic or what?

Right now it's on a shelf in our kitchen. I think we'll be putting Liam and Chloe's Valentine's inside for delivery by tomorrow morning!
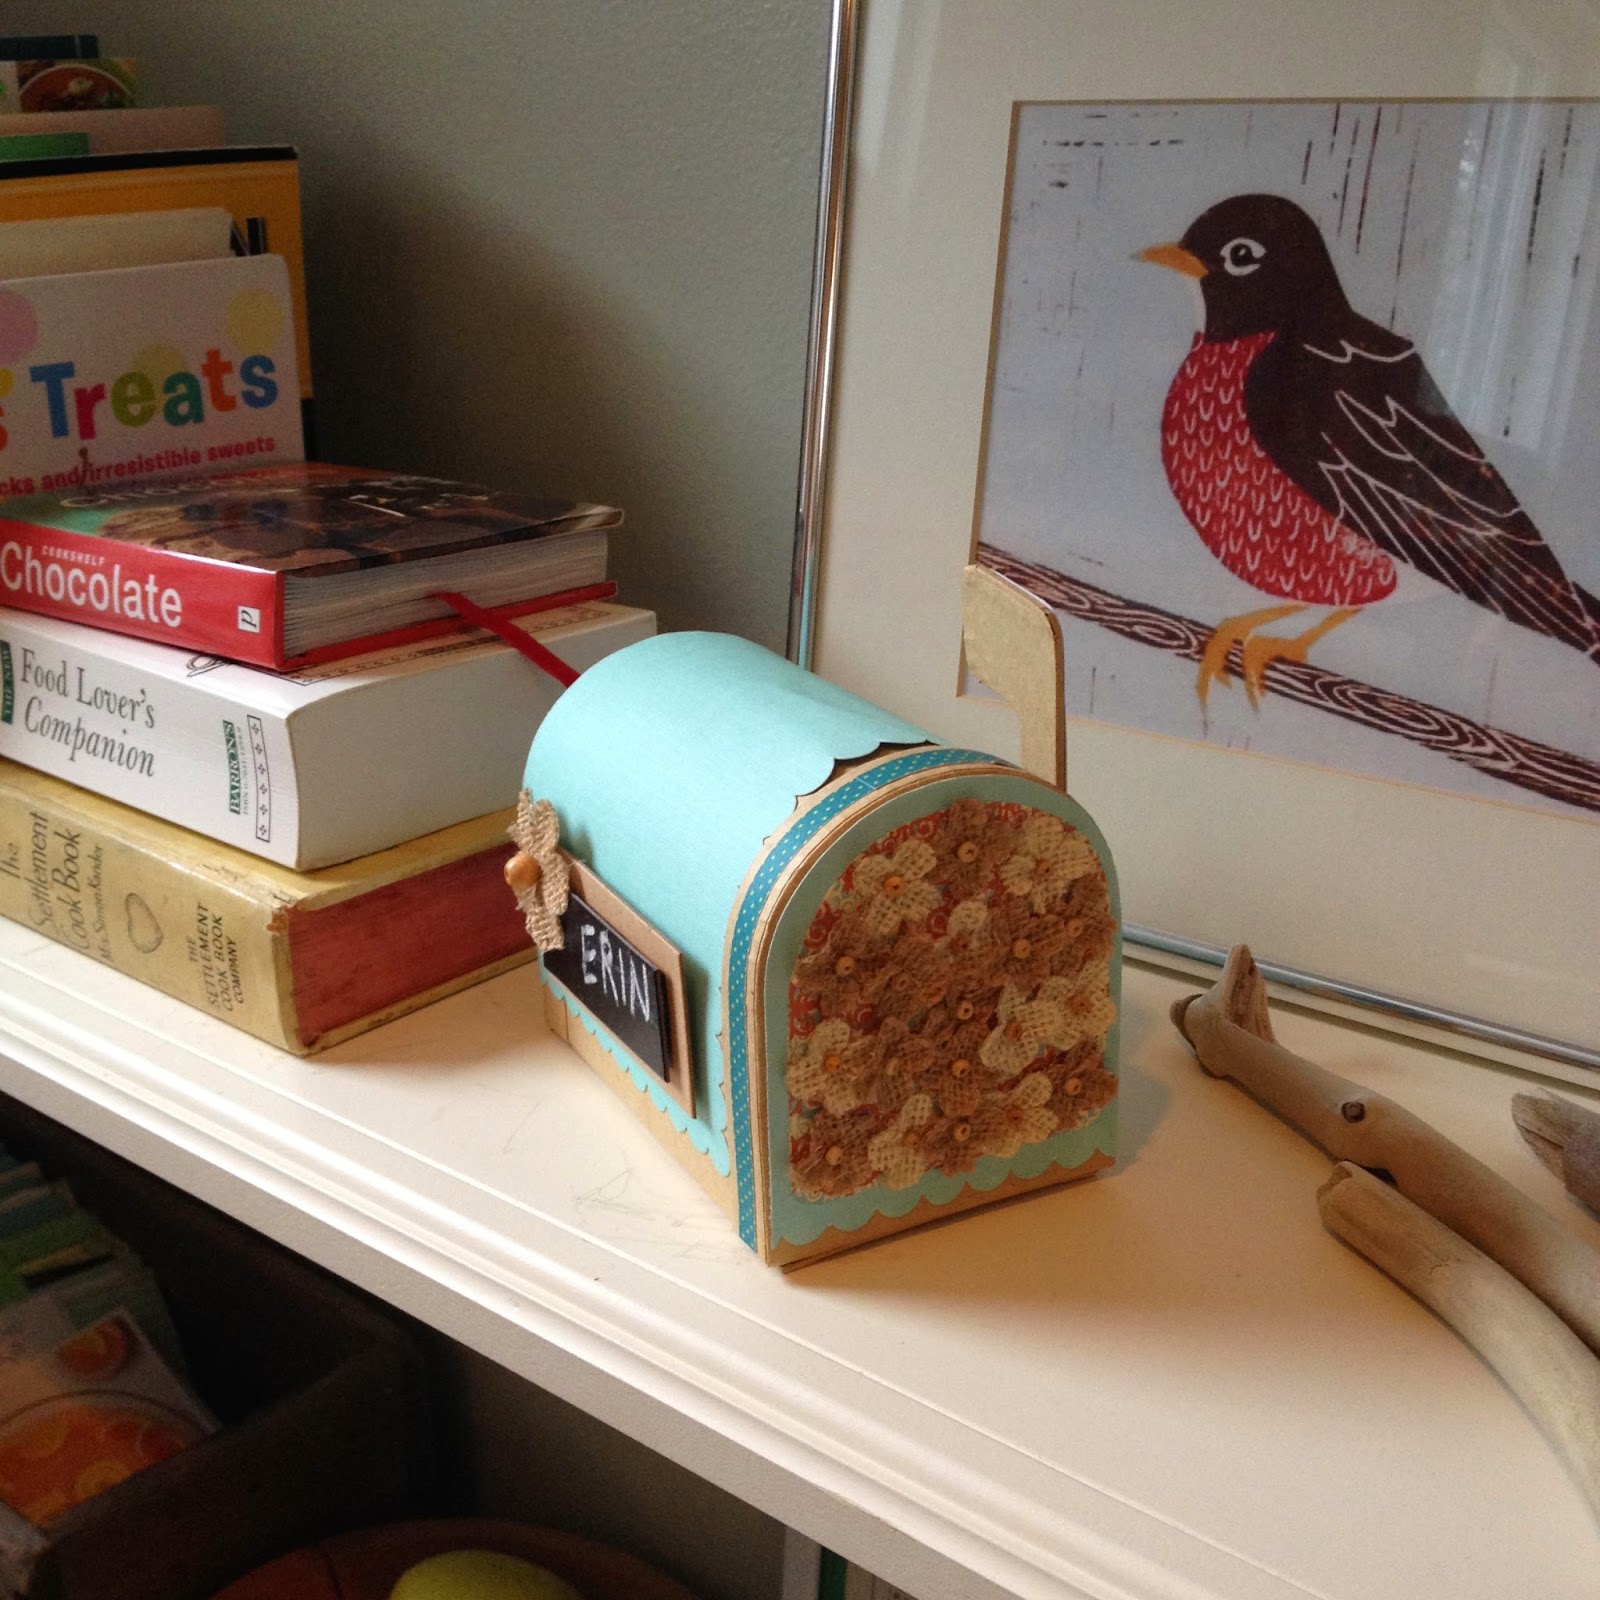

Has anyone else done a craft with mailboxes? If yes, please share.

And have a nice weekend! 

Thursday, July 17, 2014

This is going to go right to my butt-erscotch

I have a sweet tooth.

I always have and always will.

Even though my mouth has been messed up for the last 5 years (nerve damage resulting in no feeling or taste in half of my tongue + daily pain & sensitivity in my gums) I haven't let it stop me from enjoying the daily occasional ice cream or brownies or pie.

My butt does not need these sweets. Nor do my thighs. But we only live once, right?

So when I saw a photo of these Butterscotch Fluffernutter Krispy Bars on Pinterest a while back I thought to myself OH     MY    GOSH. 


I love peanut butter.
I love marshmallows.
I love butterscotch.
I love rice crispy treats.
This recipe has ALL FOUR of these in ONE dessert!!

So I pinned it and stuck it under my ever-growing "Yummy Food - Sweets" board and came across it yesterday. 


Julie from the Table For Two blog gets all of the credit for this one. She's a food blogger that continually posts the most delicious recipes, both savory and sweet.

Here's a direct link to the recipe for this dessert: Butterscotch Fluffernutter Krispy Bars

I normally don't blog about food, but how could I not share this dessert with you all!

It's really easy and so so so so so so so so yummy. 

You basically take pre-made peanut butter cookie dough and bake it in a pan...


...then you melt a layer of marshmallows on top of that (easy)...


...and then you top it with a butterscotchy/gooey/krispy layer (also really easy).


Here's a piece of it.


And another.
 Are you drooling yet?


Thank you, Julie, for the yummy recipe.


I have to go now...a piece of this is calling my name...

Friday, March 21, 2014

An alphabet surprise!

My friend Sarah hosted this month's Crafty Club on Tuesday evening. I had sent out the invitation a few weeks ago to all of the "crafty ladies" as I call them. Sarah was planning to show us how to make the craft below - painted birds on top of jars. Perfect for storing jelly beans for the upcoming Easter:


Little did I know....Sarah had secretly planned a totally different craft (behind my back, you sneaky woman) and all of the ladies knew about it beforehand. She picked out a craft that will soon be hanging in our baby #2's nursery!

I got to Sarah's house about 10 minutes late the night of the craft (because Liam pooped in the bathtub and I felt guilty leaving Matt to clean up the mess all by himself) so all of the crafty ladies were already there when I arrived and had a little "surprise" for me :)

Sarah had hung up some pink & blue balloons and had a beautiful bouquet of pink & blue flowers for me to take home. And then she unveiled the real craft that we were going to be making.

Here's the craft that we ended up REALLY doing:

Sarah found the idea on Pinterest.
The plan is to hang it in the nursery above baby #2's crib.
I just LOVE that there's a little "I love you" hidden within the alphabet.

The theme of the nursery is owls & nature (we left it the same from when it was Liam's room). The color scheme is chocolate brown, aqua and green. Here are a few quick photos of the nursery, so you can get a feel for the vibe:


Instead of painting all of the cardboard letters white, Sarah bought various paints and craft papers to decorate them with. She picked out brown, green and blue papers and paints, which should go nicely with the colors in the room.

Between the seven of us ladies we painted and decorated all TWENTY SIX letters of the alphabet within a couple of hours.


As the letters were finished we laid them out to dry.

Here are the pink and blue flowers that Sarah surprised me with :)

And everyone else had wine. Lots of wine.

And flipping delicious peanut buttery bars.
Oh how I could have eaten the entire pan by myself...

Here are all of the letters complete. Obviously they're not laid out & glued together
properly yet. Sarah and I decided it'd be easier to just bring the stack of letters over to
my house and we'll glue them all together here. I'm excited to see it hanging on the wall
when it's all done, which I will share with you soon :)

____________________________
I feel so blessed to have the friends that I've made in this good 'ol town of Sheboygan. Kind, loving girlfriends who I can always count on to make me smile! Thank you Sarah and ladies for being so cool :)


Thursday, February 27, 2014

Button flowers

This month's Crafty Club was hosted by me.

I created and hosted the very first Crafty Club in May of 2013, so that means the club has been going strong now for ten months! Each of us seven ladies has hosted the craft + we had our Christmas get-together in December. I'm so happy that everyone has enjoyed the club and is committed to making it a success!

I'm pretty darn sick of winter and I'm ready for some sunshine, flowers and green grass. So I wanted this month's craft to reflect my anxiety for Spring. 

I looked through my gazillion Pinterest pins and found one that really shouted "spring" to me.  I pinned this one quite a while ago:


A really cool lady named Leigh-Ann created this craft, so I need to give her credit! You can check out the craft + other creative ideas on her blog here:

I went ahead and whipped up a sample the night prior to hosting the craft. I wanted to make sure I had all of the correct supplies and that it would turn out okay (you never know when you see something cool on Pinterest if it's going to work out for you). This one was definitely doable and I think it turned out pretty cool!

Here are my finished button flowers...


All of the buttons were donated to me by my mom, my grandma and my mother-in-law. Cute buttons are cool. FREE cute buttons are even better! Liam helped me separate the buttons by color into little glass bowls...


I bought a jumbo package of embroidery thread from Hobby Lobby for $6...

 I set up six little workstations for the ladies. Each with an embroidery hoop (only $1.19 per hoop at Hobby Lobby) and a piece of fine linen fabric (I bought one large sheet and cut it into pieces). 

And of course we needed brain fuel, so I made little fruit kabobs...

...and mini pudding trifles (so easy -- Oreos on the bottom, a vanilla instant Jello layer, a chocolate instant Jello layer and then some crushed Heath bars on top). 

 Oops...I forgot to take a photo of the numerous empty wine bottles. Way to go ladies!

Joy and Janine concentrating deeply...

Everyone used 8-10 buttons as the flowers and then embroidered little stems underneath each one.

Sarah's blue/turquoise theme...

 Erin used pink and raspberry colors...

Oranges and browns...

"Blingy" buttons were used on this one...

Andi's finished hoop. She glued a cute little ribbon to the hoop and I think it finished it nicely.

Here's the 2nd hoop that I started. I will finish the stems someday...

Now I have to decide where I'm going to hang these things...
I think I'll hang one in our little green bathroom and maybe give the 2nd one to someone as a gift.


Have a good Friday!